The world's best panel, in the wrong spot, does nothing
It's the most expensive mistake in home acoustics: spending €400 on professional panels and spreading them around the room "tastefully". Result: the room barely improves, and the typical conclusion is that panels don't work. The truth is different: they were in the wrong place.
Acoustic absorption depends on where the sound energy hits hardest. If you put a panel where there's no incident pressure, the panel is decorating, not treating. In this guide we'll show you exactly where to place each element — bass traps, side panels, ceiling, and back wall — following the real priority order, not the aesthetic one.
Step 0: position the monitors and yourself first
Before thinking about a single panel, fix the listening position. All subsequent acoustics depend on where you sit and where the monitors are. If you move this later, the whole treatment becomes useless.
Equilateral triangle (AES standard)
- The distance between the two monitors should be equal to the distance from each monitor to your head
- They form a perfect equilateral triangle, with the vertex at your ears
- Monitors point slightly toward you (toe-in), crossing just behind your head
Typical home-studio value: 1.2-1.4m between monitors and 1.2-1.4m to the listener.
The 38% rule (Wes Lachot)
Measure the room's length (from the front wall where the monitors are to the back wall). Your listening position should be at 38% of that length from the front wall.
Why: in a typical rectangular room, that point falls outside the node and antinode of the fundamental axial mode, minimizing peaks and dips in the bass. It's the best possible position before treating anything.
Example: 5m-long room → sit 1.9m from the front wall.
Tweeter height
The tweeters (not the woofers) should sit at ear height when seated, typically 1.15-1.25m from the floor. If they're lower or higher, you'll lose high-frequency response and stereo precision.
Wall separation
Monitors must be at least 60-80cm from the front and side walls. Pushing them against the wall doubles the bass through boundary loading and completely destroys the response.
Step 1: the mirror method
It's the oldest and most reliable technique for locating first reflection points: those spots on walls and ceiling where sound bounces just once before reaching you. They are the points that colour what you hear the most.
How to do it, step by step
- Sit at your normal mixing position
- Have someone hold a flat mirror against the side wall, sliding it slowly
- Mark with painter's tape every point where you see a monitor reflected from your seated position
- Repeat on the opposite side wall
- Repeat with the mirror on the ceiling, looking up
- Repeat with the mirror on the front wall, between and around the monitors
Each mark = one point where an absorber panel must go. These points are personal: they depend on your height, chair position and monitor height. That's why no generic tutorial can give you exact coordinates — the mirror can.
Why it matters
Reflections that arrive in the first 15-20 ms after the direct sound mix with it in your brain and create comb filtering: cancellations and reinforcements at specific frequencies that distort the stereo image and tonal response. Treating the mirror points eliminates this effect at its source.
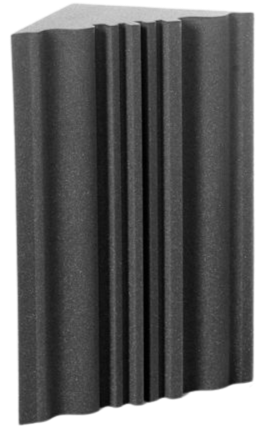
Step 2: bass traps in the corners (absolute priority)
If you could only buy one type of treatment, it would be bass traps. Corners are where the sound pressure of bass reaches its peak: waves accumulate there, summing instead of cancelling.
The 4 vertical corners first
A bass trap in each of the 4 vertical floor-to-ceiling corners is the minimum viable. Covering the entire corner from floor to ceiling (not just at head height) maximizes the effect, because vertical modes also discharge there.
Tri-corners: the next level
The 8 tri-corners are the points where three surfaces meet (two walls + floor, or two walls + ceiling). At those points modal energy concentrates up to 3 times more than in a normal vertical corner. If you can add bass traps in at least the 4 upper tri-corners, bass control takes a qualitative leap.
Minimum thickness
A useful bass trap has at minimum 10cm of effective depth, ideally 15-20cm. Below that you're not treating bass, you're treating highs in a corner (which also helps, but it's not the same).
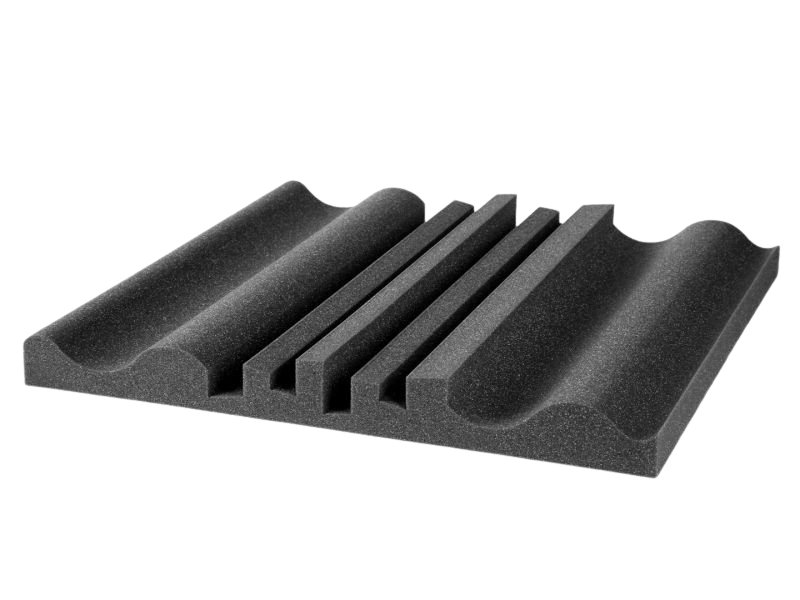
Step 3: side and ceiling panels (first reflections)
Once you have bass traps in the corners and a fixed listening position, the next step is treating the mirror points identified in Step 1.
Side walls
- 2 panels (one per side), centred over the mirror point
- Minimum size: 60×120cm, ideally 80×120cm to cover the entire reflection lobe
- Thickness: 5-10cm with an air gap behind if possible (improves lower-mid absorption)
- Centre height: roughly the tweeter height (1.15-1.25m)
Ceiling ("cloud")
The ceiling is as critical as the side walls and is almost always overlooked. The vertical reflection from the ceiling arrives at the same intensity as the lateral one and creates the same comb filtering.
- 1-2 large panels hung horizontally above the mix position, centred on the ceiling mirror point
- If the ceiling is low (<2.5m), an absorbent cloud yields spectacular results
- If you have beams or irregularities, panels can be integrated between them
Step 4: back wall (depends on distance)
The wall behind your listening position is the second most important point after the corners, but the treatment depends on the distance.
If you're less than 3m from the back wall → absorb
The reflection arrives too quickly (under 18ms) and mixes with the direct sound. Cover a wide area with absorber panels 10cm or more thick, ideally with an air gap. The thicker, the better for lower mids.
If you're more than 3m from the back wall → diffuse
The reflection arrives late enough that your brain perceives it as a useful spatial depth cue. Here QRD diffusers work better than absorption: they scatter the energy without killing it, preserving the sense of space.
Step 5: front wall between monitors (the forgotten one)
Between the two monitors and around them there's an area of the front wall that receives reflections from your monitors backwards (through cabinet rear radiation) and from your own side walls. That wall must be absorbent, not reflective.
- Cover the whole strip between and around the monitors with absorber panel
- Especially important if monitors are rear-ported
- It's the difference between a defined stereo image and a diffuse one
Floor plan — typical rectangular room
Top-down view of a well-treated 5×4m room. B = bass trap, A = absorber panel, D = diffuser (optional back wall).
- Front wall: B — A — [monitor] — A — [monitor] — A — B
- Left side wall: A (at the mirror point, tweeter height)
- Right side wall: A (symmetrical)
- Ceiling above mix position: A — A (horizontal cloud)
- Back wall: B — A — A — A — B (if <3m) or B — D — D — D — B (if >3m)
- Upper tri-corners: B in each of the 4 ceiling-wall-wall corners
Left/right symmetry is non-negotiable. A single asymmetry breaks the entire stereo image.
Common mistakes that ruin the treatment
1. Spreading panels "aesthetically" around the room
A panel every metre and a half in a straight line is decoration, not acoustics. Panels need to go where the energy is: corners, mirror points, and back wall. The rest of the wall can stay clear — and it's better that way.
2. Empty corners
It's mistake #1 in home studios. Corners decorated with plants, shelves or nothing. If the corners are empty of bass traps, the bass will be uncontrolled no matter how many side panels you put up.
3. Breaking symmetry
A panel on the left and nothing on the right (because "the door is there") destroys the stereo image. If you can't be symmetrical, move the listening position until you can.
4. Monitors against the wall
Doubles the bass through boundary loading, masks the lower mids, and yields a completely unrealistic response. Minimum 60cm of separation.
5. Over-absorbing
A room with panels on every surface sounds dead and is fatiguing to listen in. The goal isn't to eliminate all reflections, but to control them. Bass traps + mirror points + back wall = enough for 90% of domestic rooms.
6. Ignoring the ceiling
It's the closest surface to your head after the floor. Without ceiling treatment, the side walls do half the job they could.
How to know the exact positions in your room
The rules above work in most standard rectangular rooms. But each room has its own dimensions, modes, and mirror points. Calculating those points manually requires measuring distances, computing geometric reflections, and applying Sabine's formula by bands.
Our acoustic configurator does all of that for you: enter the actual dimensions of your room, position the monitors and the chair, and it returns a plan with the exact coordinates of every panel, bass trap and diffuser you need. In 2 minutes. Free.
A good panel poorly placed performs at less than 30% of its capacity. The right panel in the right spot performs at 100%. That's the whole difference.